1.2.1.1. Install and Launch OpenCOR
Download OpenCOR from www.opencor.ws. Versions are available for Windows, OS X and Linux [1]. Note that some aspects of this tutorial require OpenCOR snapshot 2017-02-10 (or newer). Create a shortcut to the executable (found in the bin directory) on your desktop and click on this to launch OpenCOR. A window will appear that looks like Fig. 1.1(a).
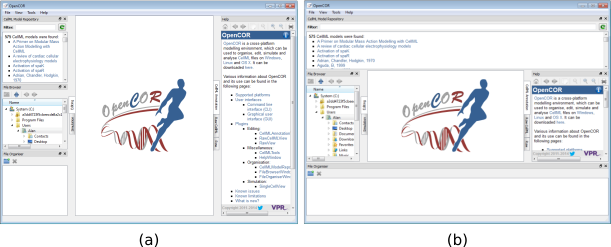
Fig. 1.1 OpenCOR application (a) Default positioning of dockable windows. (b) An alternative configuration achieved by dragging and dropping the dockable windows.
1.2.1.1.1. Dockable Windows
The central area is used to interact with files. By default, no files are open, hence the OpenCOR logo is shown instead. To the sides, there are dockable windows, which provide additional features. Those windows can be dragged and dropped to the top or bottom of the central area as shown in Figure 1(b) or they can be individually undocked or closed. All closed panels can be re-displayed by enabling them in the View menu, or by using the Tools menu Reset All option. The key combination Control-spacebar removes (for less clutter) or restores these two side panels [2].
Any of the subpanels (Physiome Model Repository, File Browser, and File Organiser) can be closed with the top right delete button, and then restored from the View .. Windows .. menu. Files can be dragged and dropped into the File Organiser to create a local directory structure for your files.
1.2.1.1.2. Plugins
OpenCOR has a plugin architecture and can be used with or without a range of modules. These can be viewed under the Tools menu. By default they are all included, as shown in Fig. 1.2. Information about developing plugins for OpenCOR is also available.
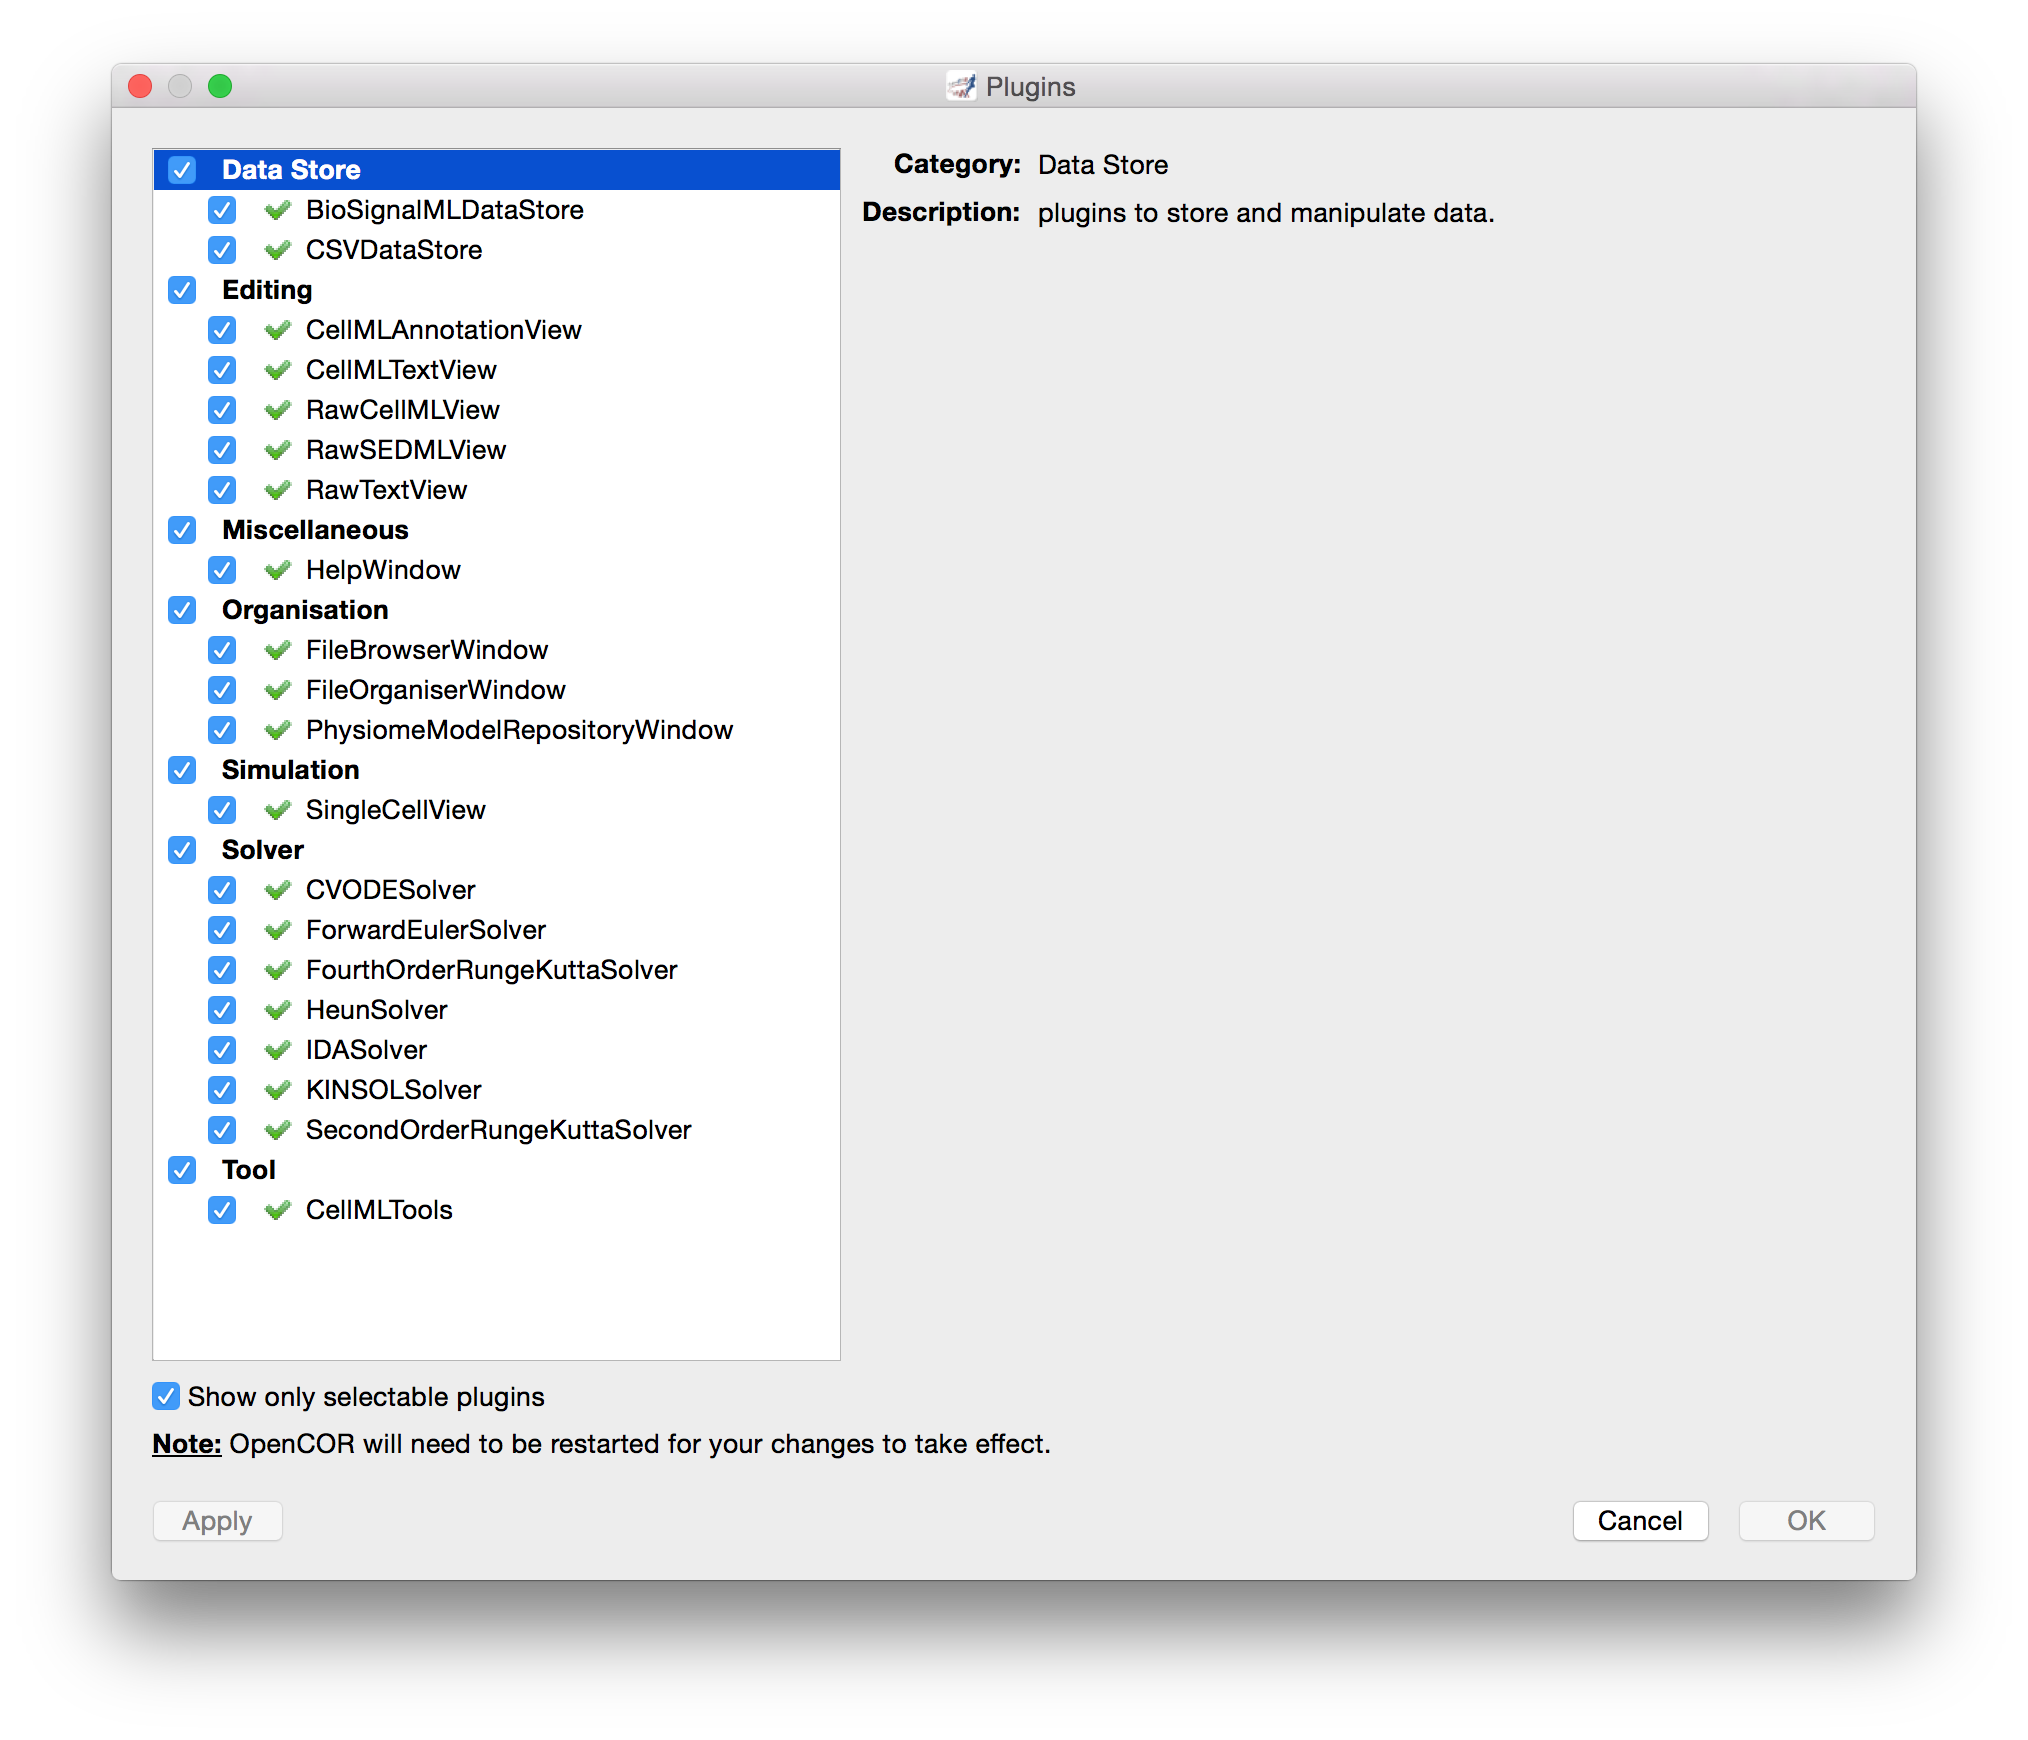
Fig. 1.2 OpenCOR tools menu showing the plugins that are selectable. Untick the box on the bottom left to show all plugins.
Footnotes
| [1] | http://opencor.ws/user/supportedPlatforms.html |
| [2] | ⌘ -spacebar being the equivalent on OS X. |